Aerogarden: Week 1
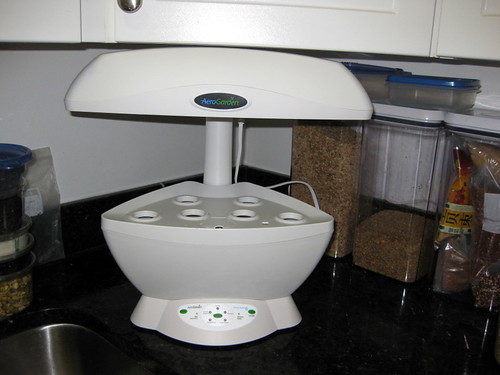
One of my favorite things about my mom’s house in North Carolina is her herb garden. She grows rosemary and mint in her little courtyard and there’s always so much of it that we can use them year-round (I love making chai tea with mint, mint chocolate chip truffles, and drinking water with a couple of mint leaves). Since I don’t live in North Carolina, I have to make do with what I have in New York. I love using herbs, but don’t want to spend a ton of money buying herbs every week and I don’t have enough kitchen counter space (or window sill space) to have my own herb garden. That’s where the handy-dandy Aerogarden comes in – Aerogarden sent me a free space saver recently and I’ve fallen in love with this little machine:
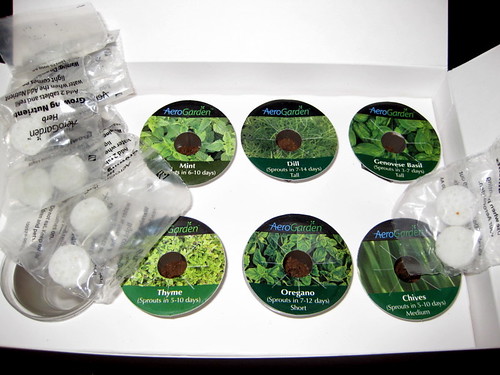
The Aerogarden starter pack comes with 6 different herbs (or flowers, lettuces, tomatoes, depending on what you order). I went with a variety of herbs:
The instructions are really easy and they label all of the herbs so you know where to plant it (based on height) as well as how soon you should expect to see any growth.
Here I am “planting” one of the pods (with basil):
The pods don’t require any watering on a daily basis so it’s a really low maintenance project; all you do to start off the pods is drop in a nutrient tablet:
Cover them up safely:
And turn on the light:
The lights are on a schedule (so you never have to mess with them), the aerogarden knows how much water each pod should receive (so you don’t have to water them on a daily basis), and they only need nutrients every two weeks. I planted the pods on July 29th and I’ve already seen a little growth (the basil is starting to come in!)
So far, I really like the aerogarden; it takes up practically no counter space, requires very little effort on my end, and seems like it’ll produce some really great herbs. Check back next week with new pictures of the aerogarden progress!


